Guide#testing#qa#multi-device
Testing an Android app on multiple devices in parallel, without an expensive lab
Screen sizes, Android versions, manufacturers: how to build a small multi-device test bench on your PC and run the same flow on every phone at once.
Your app works perfectly on your phone. Then a user sends a screenshot: the checkout button is cut in half on a small screen, or the app crashes at launch on an older Android version. You never saw it because you only test on one device.
Android means thousands of combinations of screen sizes, densities, versions and manufacturer skins. You cannot cover them all. But testing on a handful of well-chosen devices, in parallel, already catches the large majority of visible problems. Here is how to build that test bench on your PC.
Why test in parallel rather than one after another
Testing five phones one after the other means running the same flow five times, waiting five times, and being tempted to "skip" a device when you are in a hurry. In parallel:
- the same flow runs at the same time on every device;
- differences jump out because the screens sit side by side;
- an automated flow can be rerun on every build at no extra effort.
Picking your test devices
You do not need a lab. A few devices covering the extremes beat ten similar phones:
- a small screen (or a low-density one) for layouts that overflow;
- a large screen or tablet for stretched layouts;
- an older Android version still used by your audience, for missing APIs;
- the latest version, for behaviour and permission changes;
- at least two different manufacturers, because skins change fonts, gestures and battery management.
LDPlayer (explicitly handled by AppsMobs) can round out the bench for configurations you do not have at hand. They do not fully replace a real device (sensors, performance, real battery behaviour), but they widen coverage cheaply.
Setting up the bench on your PC
1. Connect every device
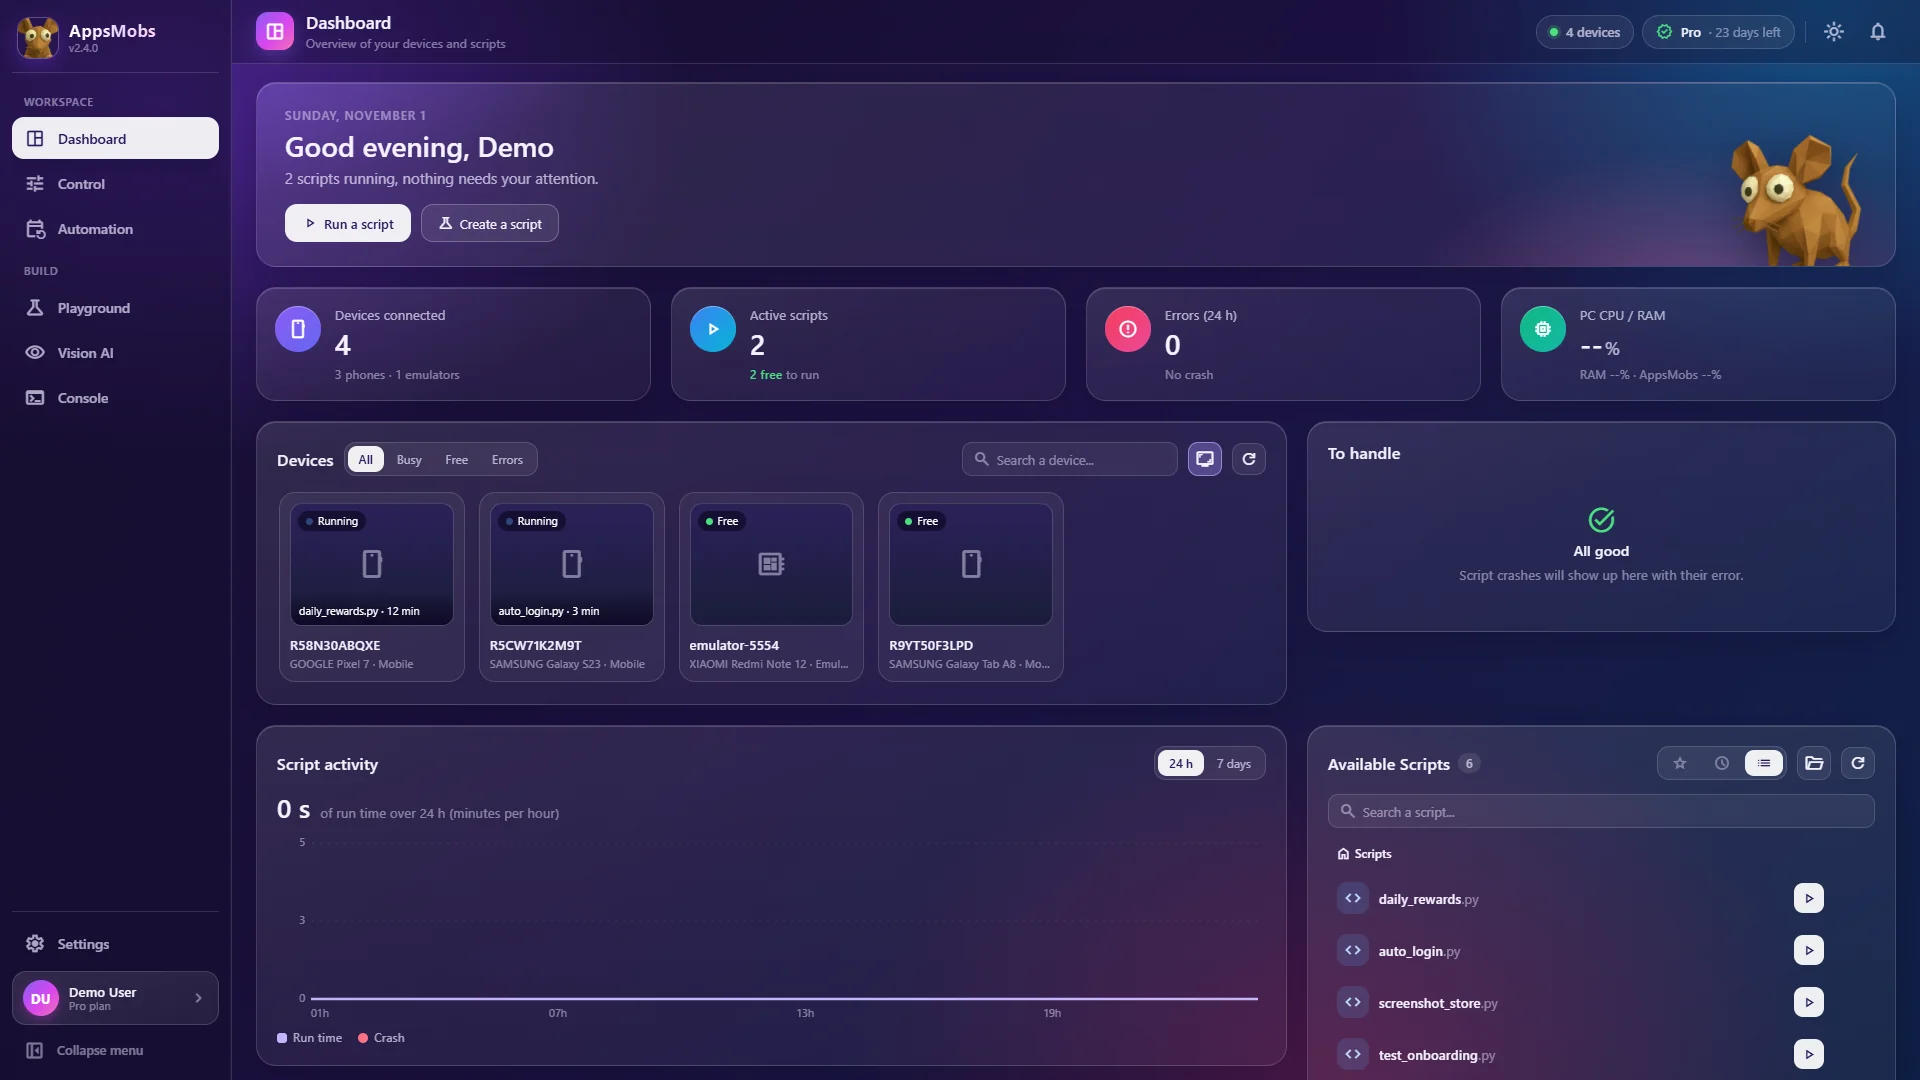
Enable USB debugging on each device and plug them into the PC (or start LDPlayer for an emulator). In AppsMobs they all appear as live thumbnails on the Dashboard. Android 7 to 15 are supported, along with LDPlayer; other emulators go through ADB, with no guarantee. The connection guide has the details.
2. Install the build under test everywhere
One install_app("app-debug.apk") line at the top of your script installs the APK on every device it runs on. No more repeating the same command for each phone.
3. Write the flow once
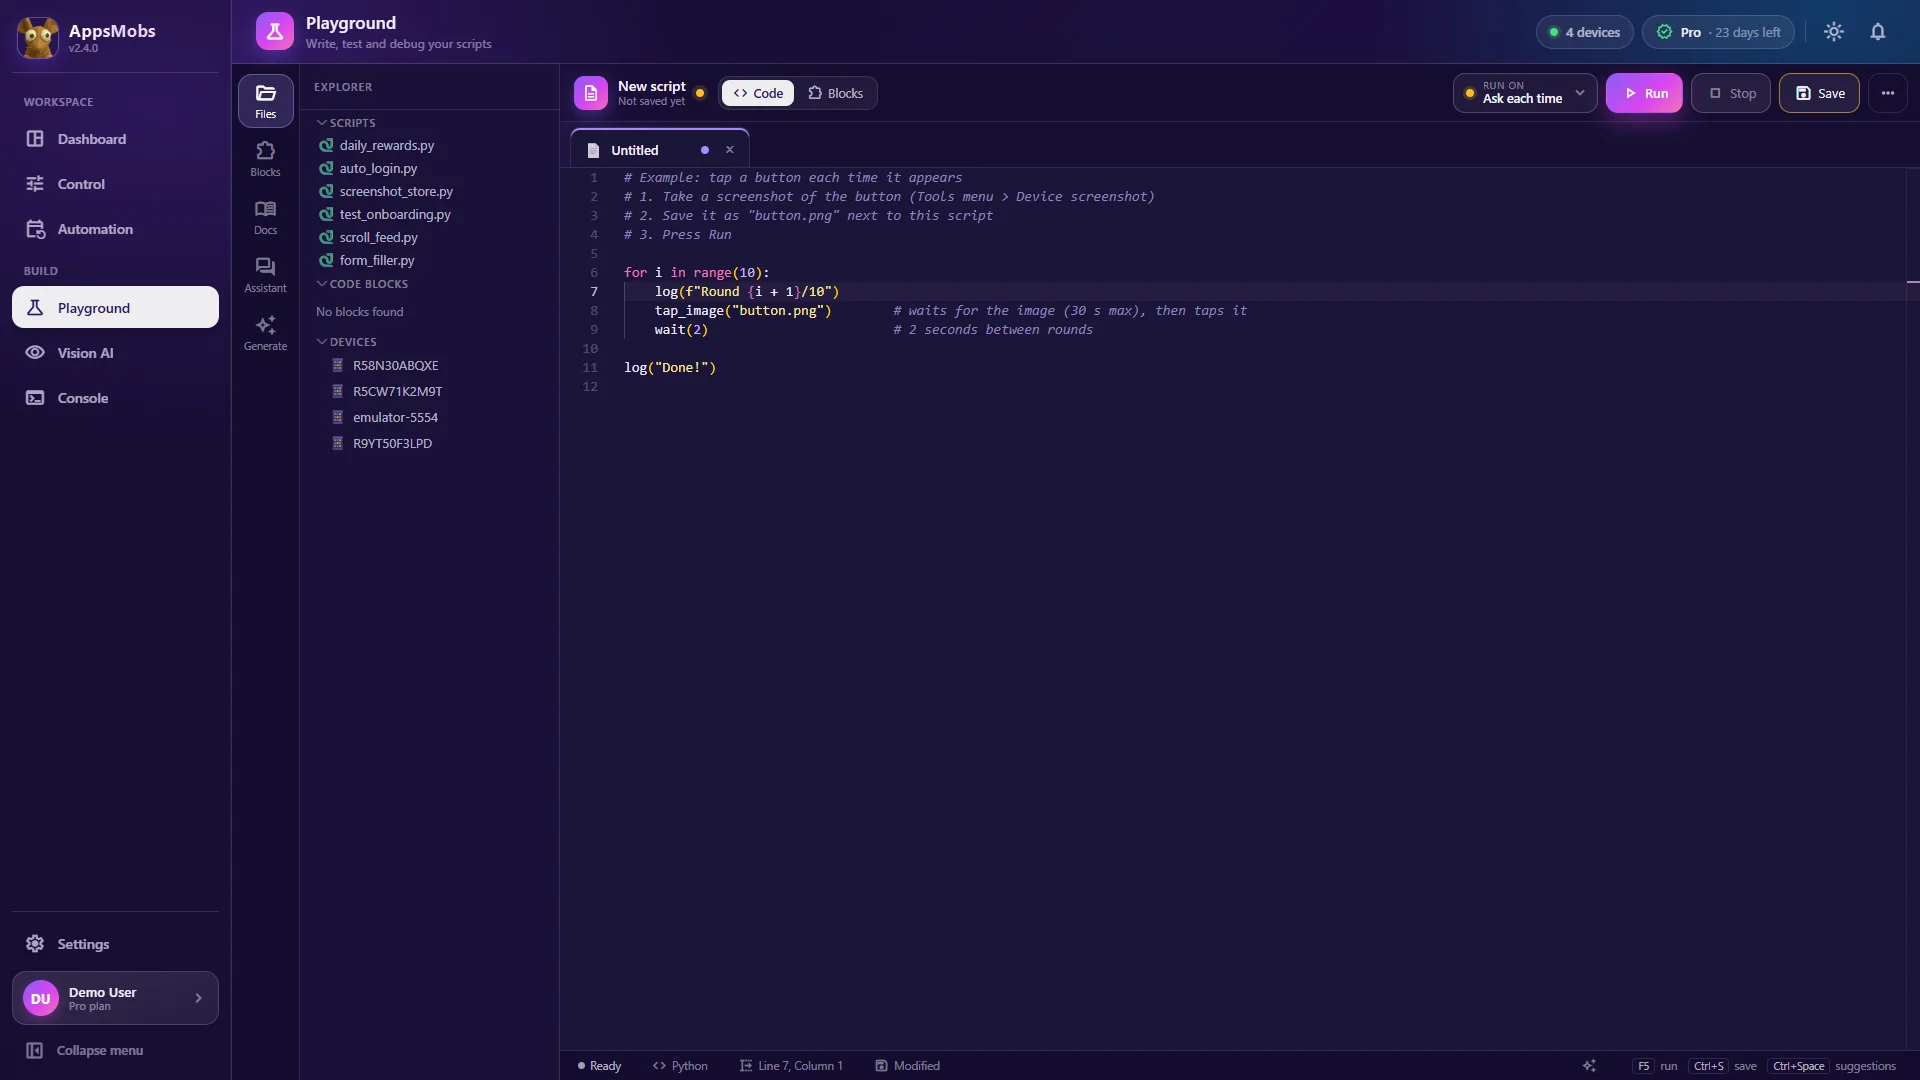
A test flow is a sequence of steps: launch the app, get past the welcome screen, sign in with a test account, open a given screen, fill in a form, check that an element is displayed. You can write it:
- in Python, with the AppsMobs library (80+ documented functions for taps, typing, waits and screenshots; see Python scripts);
- in blocks, if your team includes testers who do not code: blocks expose the same functions.
Each script keeps a version history, so you can roll back to a run that worked.
4. Run it on every device at once
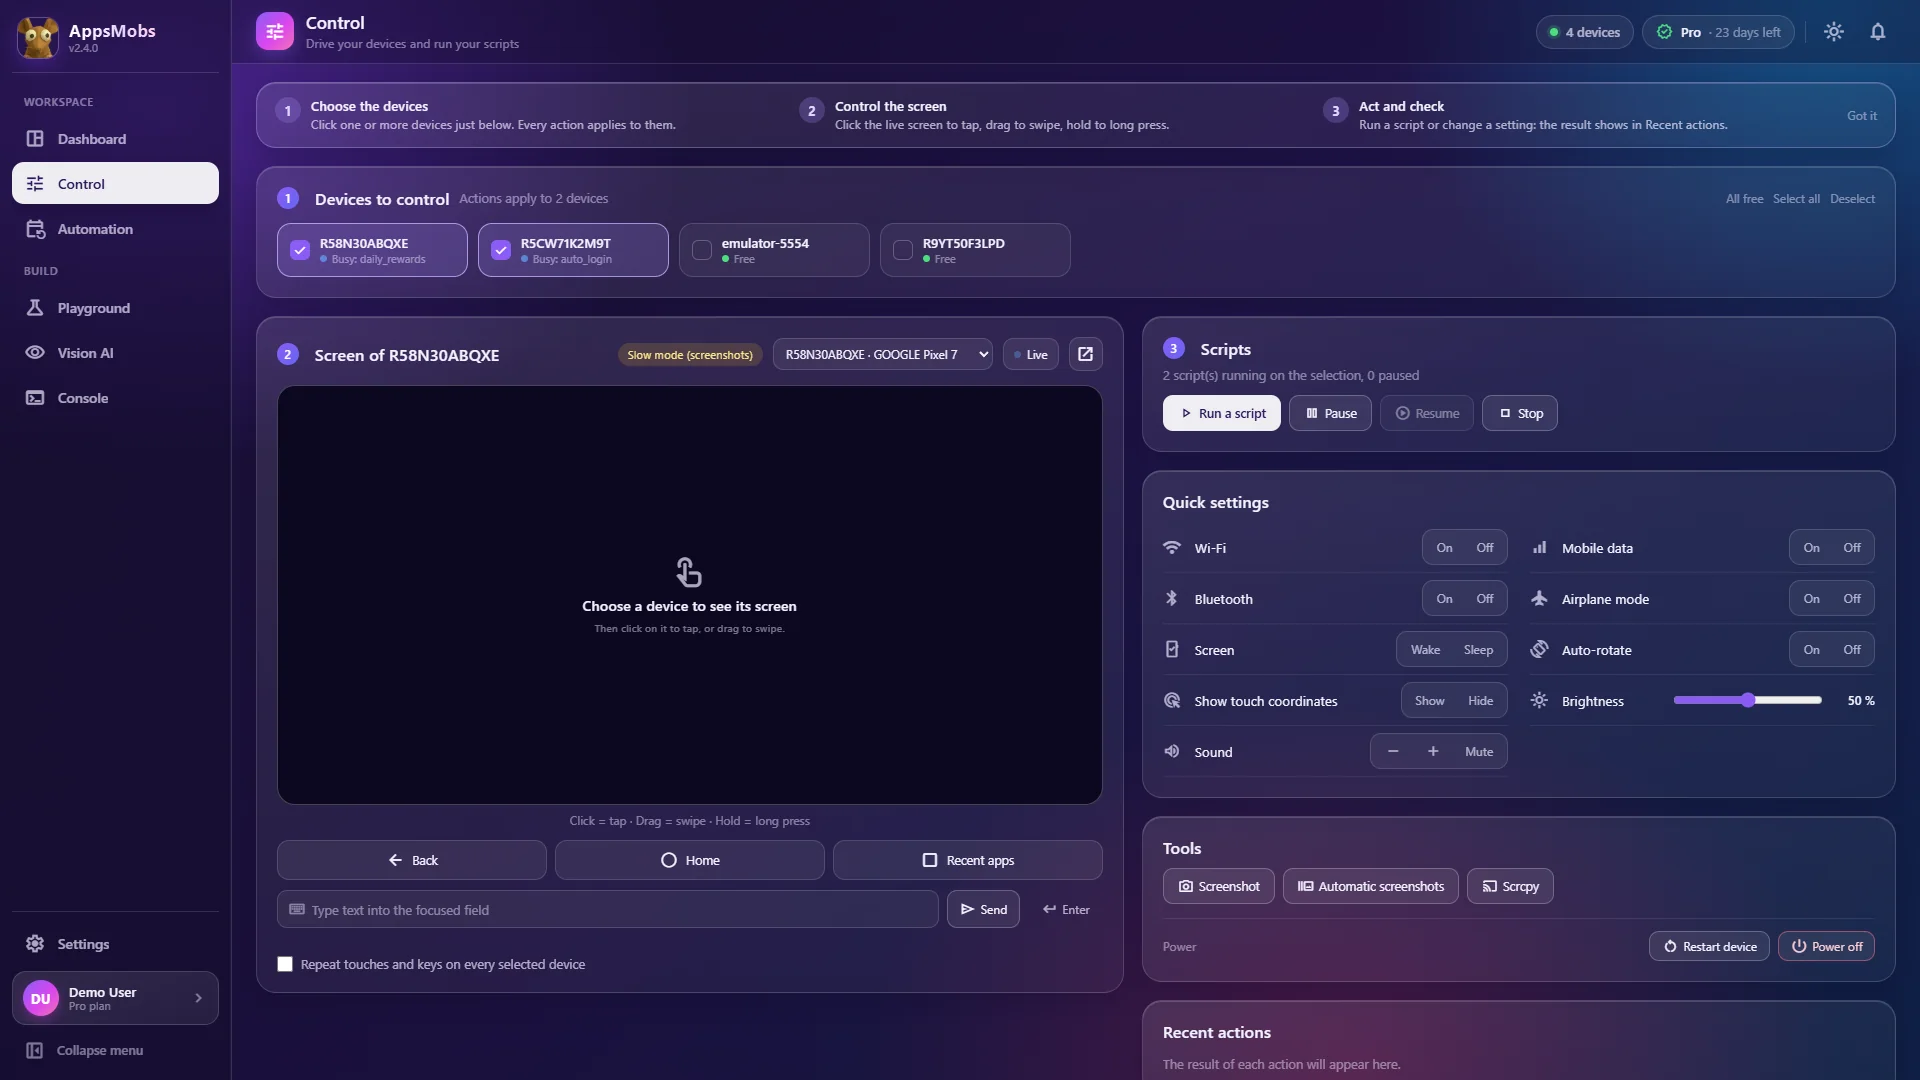
Select the devices and run. Each device executes the flow on its own and you watch every screen move together.
5. Read the results
Every run writes its log to the Console, device by device. Add a screenshot() at each key step: when a test fails on a single device, the offending screen is right there instead of having to reproduce the problem.
Checking what is on screen
A test that only taps the right spot verifies nothing. You also need to confirm that what should appear does appear. Three complementary approaches:
- on-screen text, with
text_visible("Pay")orwait_text("Order confirmed", timeout=20), for anything displayed as words; - template matching, for an element that never changes: a logo, a fixed icon;
- Vision AI, for elements that move or change appearance across screens. You train a detection model on screenshots of your app, and your test can ask "is the checkout button visible?" instead of "is the pixel at (540, 1820) green?". That is precisely what makes a test robust across screen sizes.
An honest note: a model trained on twenty screenshots of a single device will not necessarily generalise to a very different screen ratio. Add screenshots from each screen type in your bench.
Letting tests run on their own
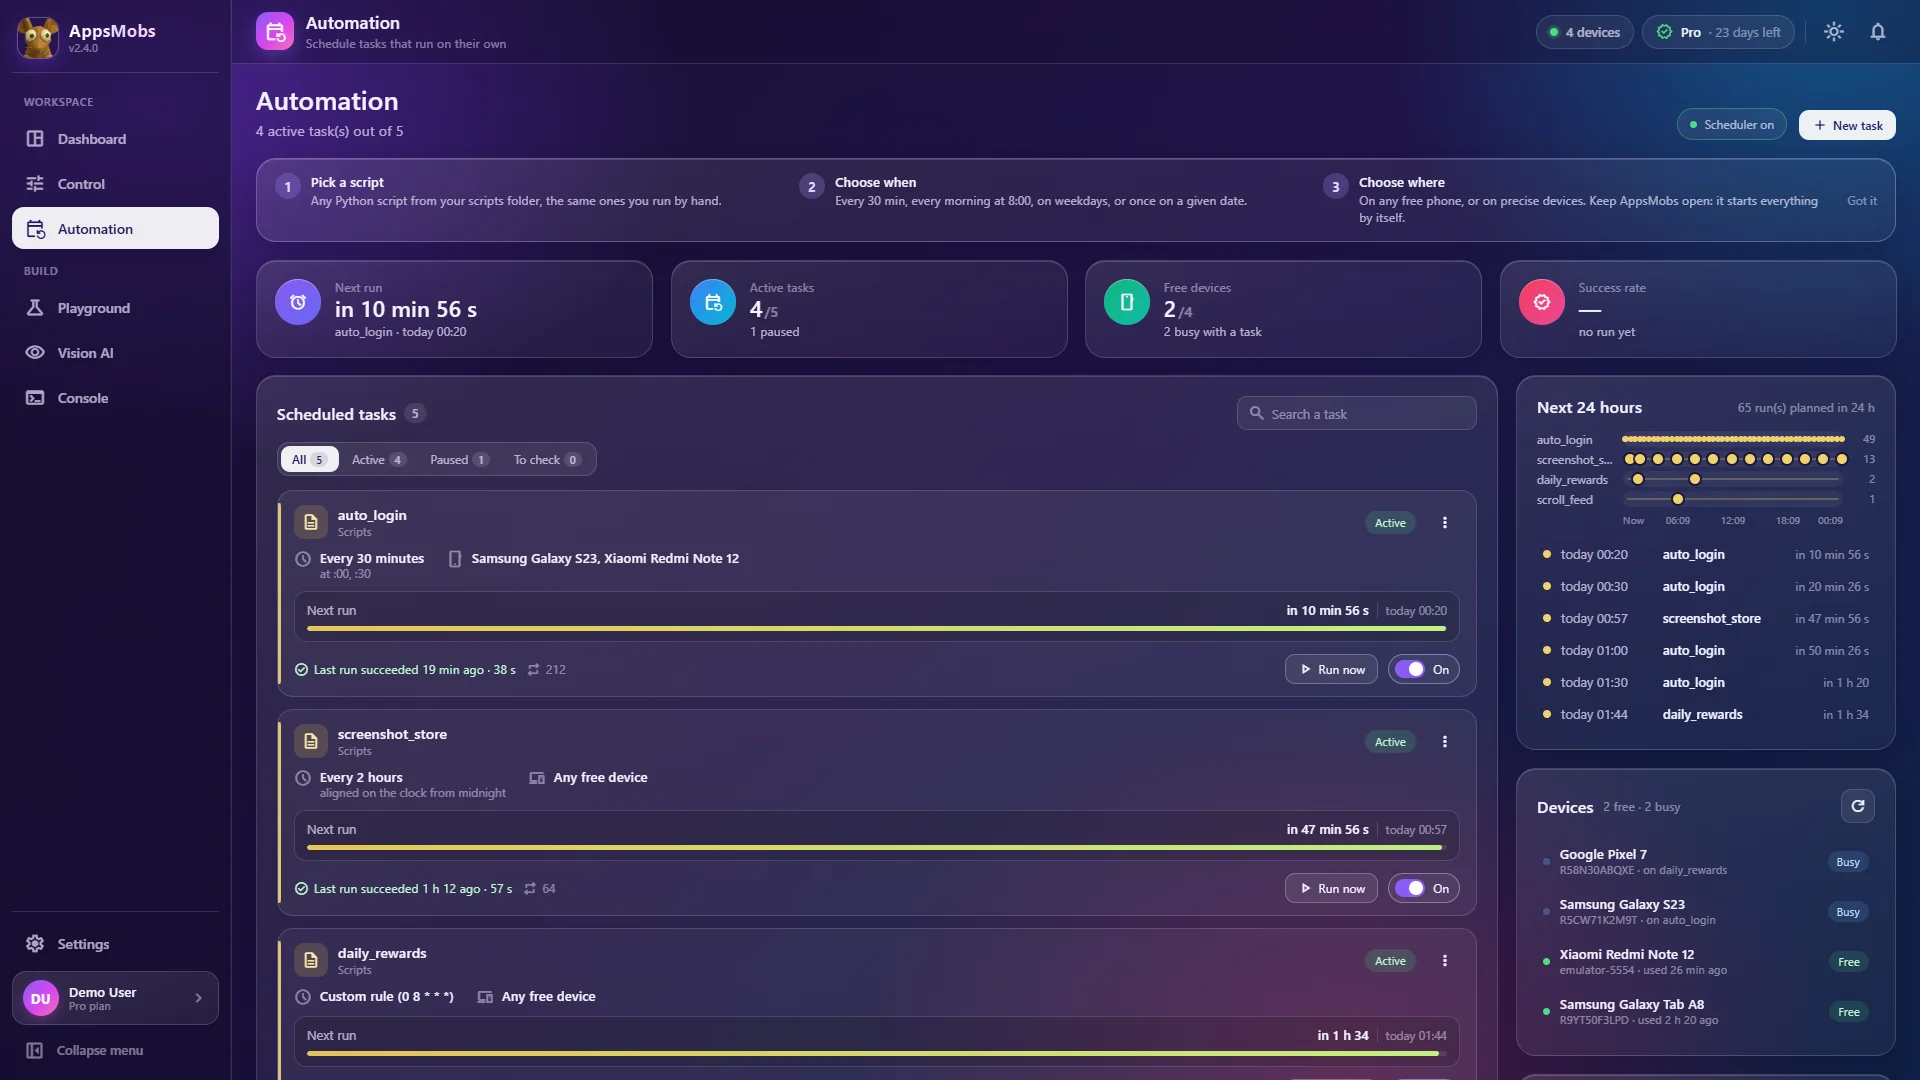
The scheduler runs your flows at intervals or overnight, on "any free device" rather than fixed serial numbers. On several devices it processes them one after the other, and a script launched by a task is cut off after 5 minutes. The Dashboard's auto-restart relaunches a script that crashes (3 times at most in 10 minutes), and a task that fails 3 times in a row stops and shows up under "To review".
This is a bench that runs on your PC: it needs AppsMobs open on the host machine. It is not a hosted continuous-integration service.
What a local test bench does well (and less well)
It does well:
- testing on real devices, with their real manufacturer skins;
- comparing screens visually side by side;
- keeping everything local: APKs, test accounts, screenshots;
- costing a handful of phones and a subscription, not a lab.
It does less well:
- covering hundreds of models: online device farms are still useful for that;
- running while the PC is off.
Getting started
Start small: two or three devices at the extremes of your audience, a single critical flow (sign-up or checkout, for example). Once it runs reliably, add devices and flows.
Plans range from 1 to 10 devices. The product tour details each module and its limits, and you can download AppsMobs to connect your first test device.